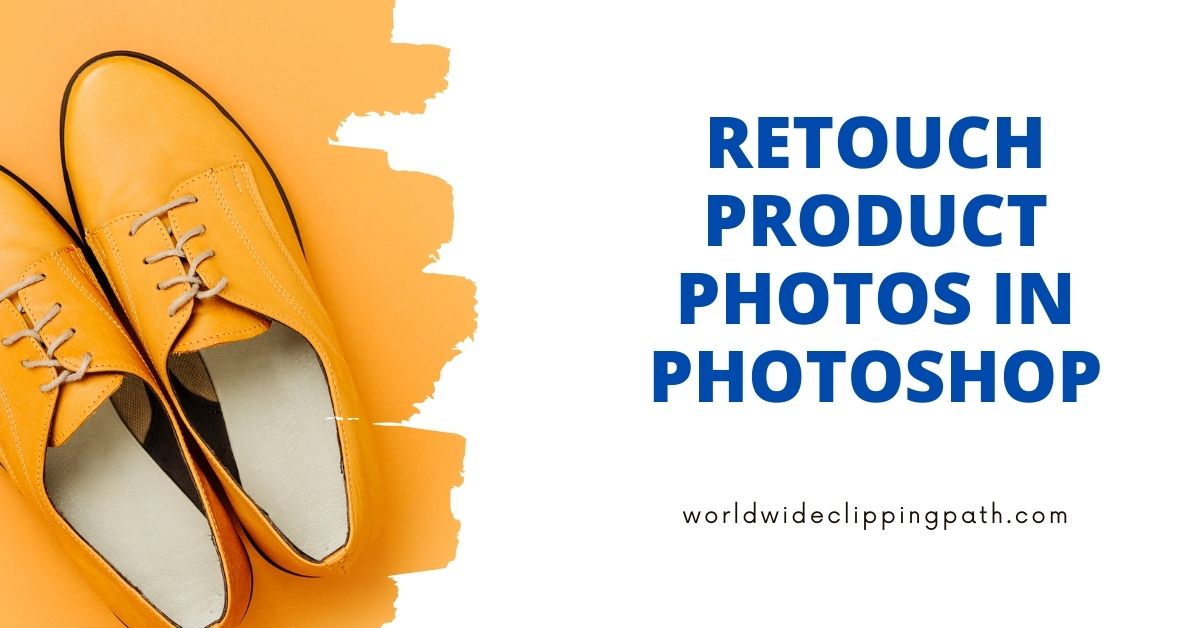
A pixel-perfect, sharp, colorful, and color-corrected image will draw a buyer on social media, and that’s what retouching product photos in Photoshop do for you.
It will also keep a user browsing your online store by allowing them to zoom in on details, finally convincing a potential consumer to make a purchase.
It is essential to create a business with high-quality pictures to be successful. Customers are more likely to abandon their purchase from your online business if the photos they see appear unprofessional or unpleasant.
Retouching, often known as picture editing, is a series of alterations performed on a digital image to either improve the image’s appearance or adjust its technical aspects. Resizing, color correction, shape adjustment, and defect removal are the fundamental types of retouching processes in photoshop. Photoshop is among the most well-known and widely used options for photo editing software.
Why is Retouching Product Photo important?
Retouching product photos in photoshop will benefit you for several various reasons, including:
Appealing Photos
Do you see how unattractive a product can be if you do not carry out any post-production? In the meanwhile, retouching brings about a dramatic change to the image.
Branding
It might be useful to your marketing efforts to establish a brand identity through recurring patterns in retouching. All of these aspects, including colored backgrounds, custom margins, and a distinctive method of handling shadows, can contribute to the awareness of your brand.
Real-Life Similar Experience
The zoom feature, seen on many different marketplaces, enables customers to lessen the impact of purchasing online by providing them with the opportunity to almost get a feel for the fabric of an item and view close-ups of products.
Technical Requirement To Be Fulfilled
It is possible to adjust the resolution, file format, sizing, and backdrop constraints during post-production. A great number of online marketplaces impose an extensive list of technical restrictions on merchants before allowing them to use their channels.
Outsourcing Retouching Service – Is it a good choice?
During the design process, there are a variety of tips, tactics, and strategies that you may consider to improve aspects such as skin tone and defects, as well as to enhance the qualities of the photo subject.
After outsourcing picture editing services, your company will gain many benefits from its operations. Editing photos is a very important skill for online businesses to have.
For instance, consumers want crystal-clear images of the products they purchase online. The professionals will perform the essential picture editing to provide appealing photos for your eCommerce presentation.
When you hire a professional to handle your picture editing, like those at Worldwide Clipping Path, you can be confident that they have the most qualified professionals.
How to Retouch Product Photos In Photoshop
This article will help you grasp some fundamental techniques for modifying product images if you are unfamiliar with Photoshop and have no prior experience using it. You will learn how to edit pictures in various intriguing and dynamic ways, such as erasing imperfections, producing a ghost mannequin look, and more.
Background Removal
Removing the background is one of the most popular types of editing for product photos. Since the process of removing things from the background or changing their color can be laborious and time-consuming, experts recommend that photographs be taken against a white background.
In Adobe Photoshop, the pen tool is one of the most useful. This software also comes with a speedy selection feature known as “Select and Mask.” However, because Photoshop does not provide complete control, your choices may not be accurate.
Get Rid of All the Defects
Please ensure the product you wish to market is spotless before taking photos to advertise it. Removing any defects that may be present, such as scratches, dust, fingerprints, and so on, is essential. Utilize editing tools in Photoshop such as the Clone Stamp and Healing Brush to erase any flaws from product photographs before saving them.
Adjusting the Color
The process of altering product photos in Photoshop typically begins with a color correction step. Keep in mind that the colors of a product in the image should be the same as the colors of the product in real life.
It is not fair to your customers to sell them an item that looks different from the picture your organization has provided. Adjusting a picture’s colors, white balance, exposure, and contrast are the four elements that are changeable to achieve the desired color scheme.
White Balance
When photographing your goods, you should exercise caution and pay close attention to the particulars of the shot to avoid giving it a bluish cast in the final image. The white balance of a photograph can look off if you change the lighting conditions or camera settings in the middle of the photography session. You may alter the white balance in Photoshop if the whites in your image aren’t coming out the way you want them to.
You may need to adjust the color balance of your image to make it match the color scheme of your product as it appears in the real world. Use the Curves Tool.
Exposure and contrast
Adjusting the image contrast, you can make the brightness sections of a photograph brighter and the dark areas darker.
As of this effect, the picture will appear to have more definition. Increasing the exposure will assist in producing a photo with a higher brightness level. When you decrease the exposure, you will get the opposite outcome, a darker image.
Modifying the Colors
Applying Photoshop’s “fast and basic color correction” option will cause the colors in a photograph to appear how they would appear to the naked eye of a person in the environment depicted in the picture.
First, open a photo of your product, navigate the Image menu, click on Adjustments, and pick Hue/Saturation from the drop-down menu. To acquire the appropriate shade, move the slider depicting a triangle in either way.
Make the details more distinct
The Unsharp Mask tool in Photoshop is a specialized tool that lets you locate edges in an image so that you can sell the product more effectively. It can darken one side of the product while simultaneously lightening the other. You can achieve a crisper image by adjusting the contrast at the picture’s margins.
After selecting the Filters option, move to the Sharpen menu and pick the Unsharp Mask from the drop-down menu. Move the slider to try out various combinations until you find one that looks good for the product photo. You can configure things like:
Radius: You can determine the area for modifying contrast by changing the value of this option.
Add Shadows
There are primarily two kinds of shadows in product photographs: the shadow that casts a darker tone on your products and the shadow that your product itself creates. The first type is undesirable because it diverts viewers’ attention and conceals the product. The second form creates an impression of actual depth, which is more appealing to customers.
Shadows cast by Reflection
When using these, your product will appear to have been photographed on a reflecting surface, such as a glass mirror. This shadow is frequently implemented on homepages, category pages, and social media networks. To create this effect, you will need to copy a portion of the image, paste it onto a new layer, rotate it, position it, change the blend mode of the coating, and mask it.
Shadows Cast by Drops
These give the appearance that sunshine shines directly on the product you are selling. Turn on the Layer Style option located at the bottom of the Layers panel, and then choose Drop Shadow from the menu that appears.
Customers can observe the item in a three-dimensional way, and it is kept in a particular context when it is shown to them with either sort of shadow, which adds an illusion of depth and makes your product look grounded.
Get Rid of Those Reflections
While editing photos in Photoshop, you can get rid of reflections by selecting one of several available choices.
Selecting a color from a neutral backdrop and applying it to the area you need to fix with the Brush tool while the Color blending mode is active is one of the quickest and easiest ways to eliminate an unwanted reflection. To begin this procedure, hit the Alt-Shift-C key combination.
The application of the Sponge Tool is yet another way, although this one depends on the metal surface has a neutral charge.
The ghost mannequin effect
With the ghost mannequin effect, you can snap images of a product while it is on display on a model or mannequin, and then in the post-editing stage, you can eliminate the model or form.
You can display aspects of your product using this method that could not be visible when a model was wearing the item. Because of this, you will be able to take a fantastic picture that focuses on your creation, which will almost certainly lead to an increase in the number of sales.
This method is vital for altering product photos in Photoshop because it enables buyers to see themselves more easily wearing a piece of apparel than any other method.
Conclusion
The photography of products may be extremely challenging since it calls for a wide range of abilities and close attention to detail. It is the most difficult work to get a correct portrayal of your item so that your buyers do not become confused about what they are purchasing.
