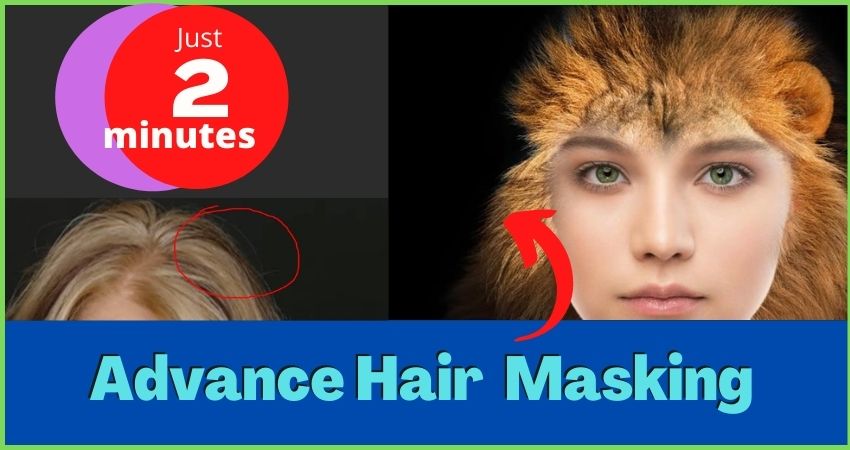
Take the pen tool and do the path. How to do advanced hair masking in photoshop. This is a very advanced job but I wanted to make a simple step and simple process. It must help you to quickly learn today. you need 30 minutes to stay close to me. I am determined you learn it 100 percent that help your whole life.
Enjoy the video and learn fast
Please check this video and get the details part to part Masking hair editing service, learn how to do then check out step by step. I am sure you will be a Master of Photoshop hair masking in 7 days. If you do not practice well you will forget everything. So try yourself at least 50 photography editing for advanced hair masking in photoshop services by updating Photoshop tools.
Step 1. Take the pen tool and do the path
In this step, you will just select the pen tool. If you do not find the tools box, go to the window and click the tool menu. The pen tool is basically used for doing a path around the place you need to select. Note this, you must know very well about the use of pen tools properly. this is a very important tools for photostatic.

Step 2. Selection of the path area
You know how to do the selection, if you do not do it now I am saying – CRT+ enter after section of the area path. then you will see the automatic selection is done. you need to do the feature go to the selection menu and get the feature make sure it may be 0.5 to 1 maximum time to do smooth of the path areas.

Step 3. Make a duplicate background above the layer.
It is very simple just click the layer which you one to do duplicate and click the right button on then get the duplicate layer.
Why did you need to do duplicates?
Do you have this question inside your mind, yes?
Duplicated needs to make the same original layers because you can compare the work is going one again and again to check yourself. this is a rule for the work of layer function all the time. keep the double layer for the original all the time. learn slowly: advanced hair masking in photoshop

Step 4. Take a white solid color and put the middle of the layer.
Now make it solid color -click on layers then go the color and select the color you need. And you must put it in the middle of the two layers.

Step 5. Take the background eraser tool and erase the background
Now the interesting part and enjoyable time to remove the background very simply. Tool the eraser tools and make sure it is opacity you need as demand on image requirement. You can not know 1st time just apply to erase then see if the erase is clear or not removed then apply the percentage, again and again, to remove 100% nicely.

Step 6. Clean the dust from the image
This is also more simple. clean the dust and check it by zoom ., sometimes small duct is all around the place. Click and remove it. the quality is ensured by your expert level. Most the designers are flailed to make finished jobs a quality full. So give more attention to clear perfectly.

Step 7. Check twice if all are clean or not? Especially in the hair

Step 8. Check the final requirements
Do the layers off and off and on the eye from the left side of the layers. you will understand to compare with the original images what is changing and how much effort you need to do there.

Now check the one simple part or portion I want ed to show you advanced hair masking in photoshop jobs. Really 95 percent of people can not do this hard 100% perfect. Because really it is a very tough job to make finishing. Most of the clipping path and photographers’ company post-production managers feel this tough problem for the hair masking. I am feeling good to say it is now clear and simple. Model masking and photo masking jobs may also help a lot.
If you need really any model or photo masking get the free trial from us absolutely free of cost today. send us an email to info@worldwideclippingpath.com that may help to fill your requirement and right dedicated customers service 24/7. We can solve your all hard masking or event simple bulk masking project solutions. Just try the test for free now.


